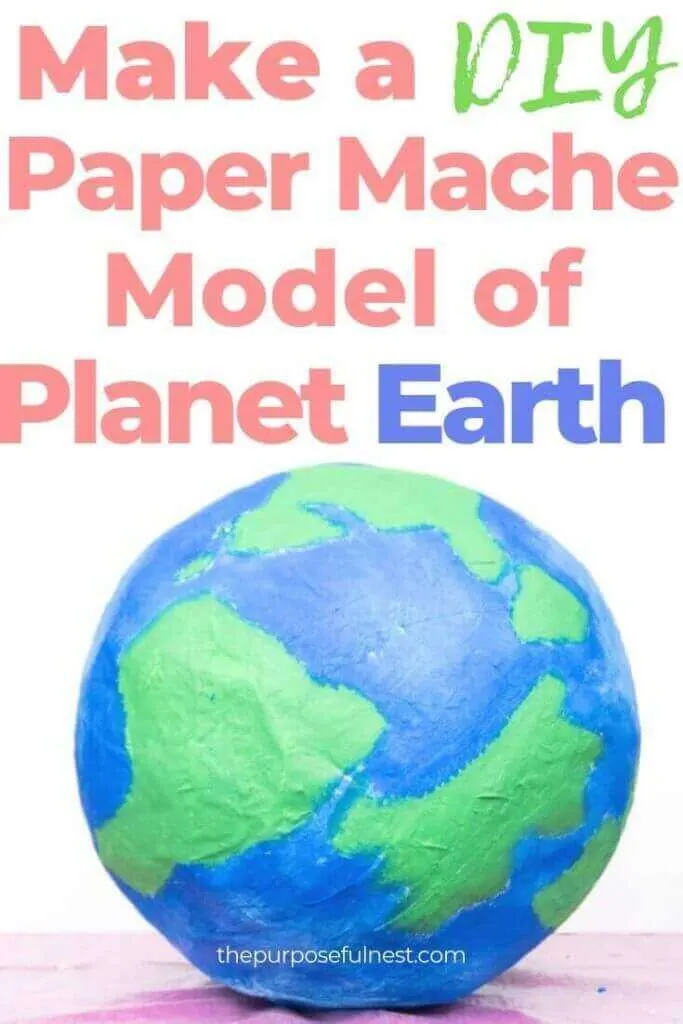
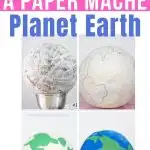
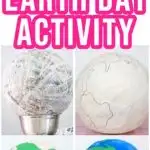
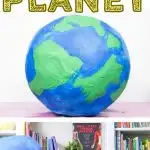
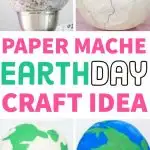
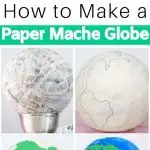
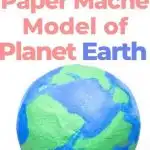
Learn how to make a large paper mache planet earth with this easy-to-follow tutorial.

Today I am sharing how I made this large paper mache planet earth. It’s hard to believe that fall is just around the corner.
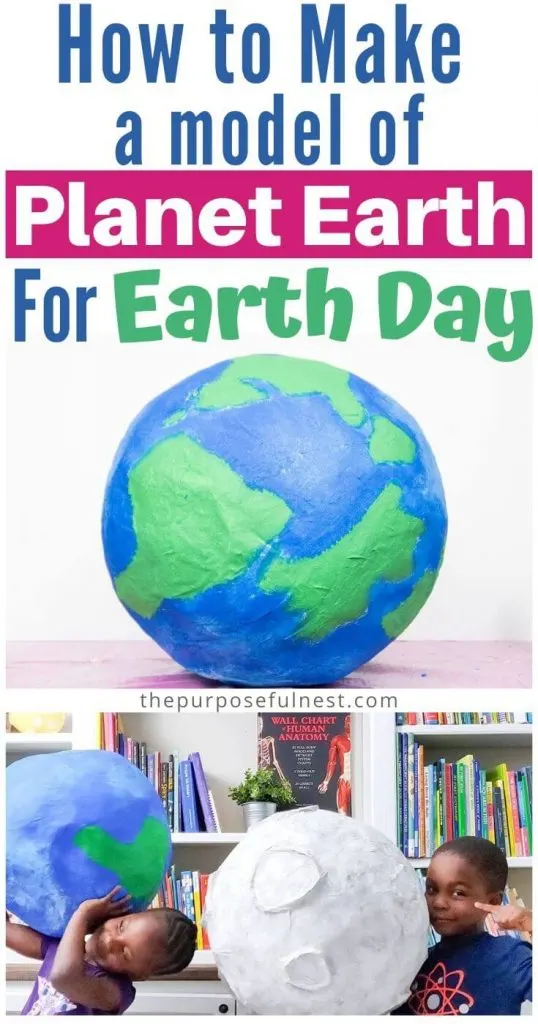
For us, that means lots of birthday celebrations and party planning ahead. I’ve mentioned before that I am planning to host a space-themed birthday party for my soon-to-be 7-year-old and am currently DIYing decorations for the party. I plan to use the paper mache model of planet earth as a party prop for our space party.
The DIY paper mache planet earth can be used for a fun geography craft, art project, or even a pinata. You can even use this tutorial to make almost any sphere-shaped project of your liking. You’d just need to paint it to look like whatever it is you are hoping to make.
So, If you don’t mind getting your hands messy, you should continue reading to learn how to make this paper mache earth. I have also included a video tutorial.
This post may contain affiliate links. See the full disclosure here.
Supplies you will need:
- 1 Large Balloon or Beach Ball
- Newspaper (2 should be enough)
- 1 Large Bowl
- 1 Medium Bowl
- Wood Glue
- Flour
- Water
- White Copy Paper
- Acrylic Paint + Brushes
- Masking Tape
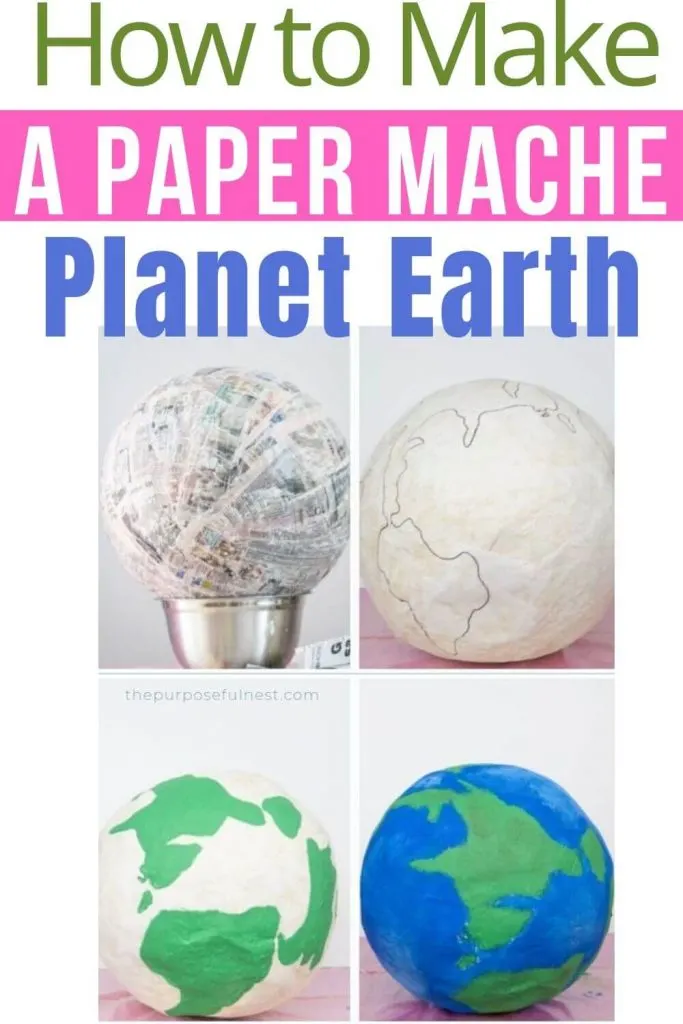
How to Make a Paper Mache Model of Planet Earth
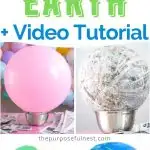
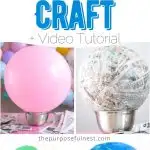
To start, you will need a large inflated balloon or beach ball. I used a 24-inch latex balloon.
Cut up lots of newspapers. 2 newspapers should be more than enough. Once you have your work area set up with the large balloon set on a large bowl and all of your newspaper cut up you can mix your paste.
Applying the Paper Mache
For the paste, I mixed warm water together with flour until it formed a paste that was just thinner than pancake batter. Now, it’s time to begin applying your first layer of paper mache. Simply coat each strip of newspaper in the paste then smooth the newspaper onto the balloon.
Continue this until you have covered the balloon only leaving a small opening where the balloon is tied.
After the first layer is applied, let it sit and dry completely.
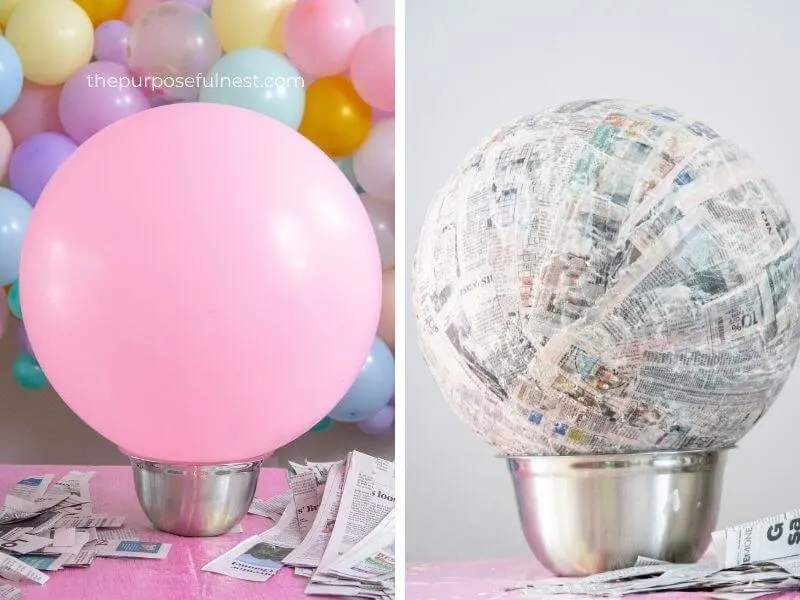
Repeat the process 3 times. Add masking tape to your dried project each time in between layers.
For the final layer, I added about 1/3 cup of wood glue to the paste. I removed the balloon after the third layer. See the video tutorial above.
Painting the Paper Mache Planet Earth
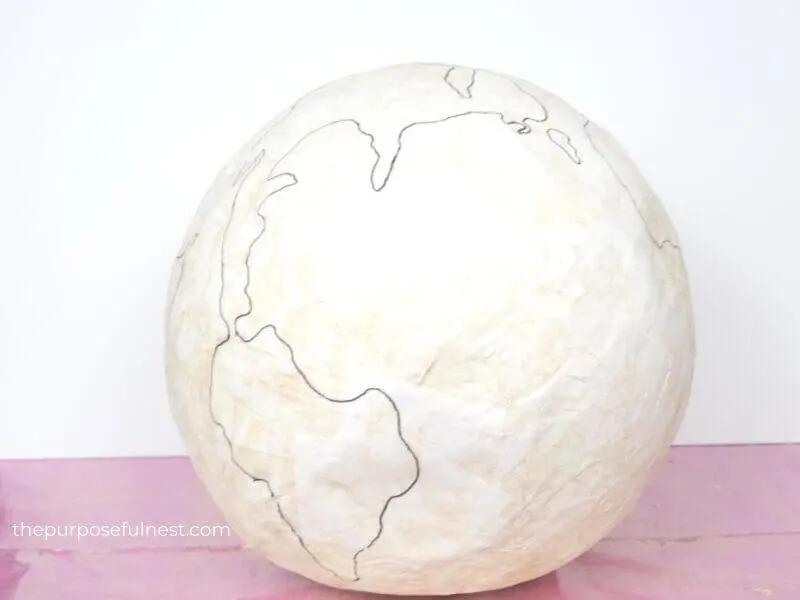
Reference a globe to get a general idea of how to draw the continents onto your project. This does not need to be perfect. I used a pencil to draw my outline then traced over it with a black Sharpe.
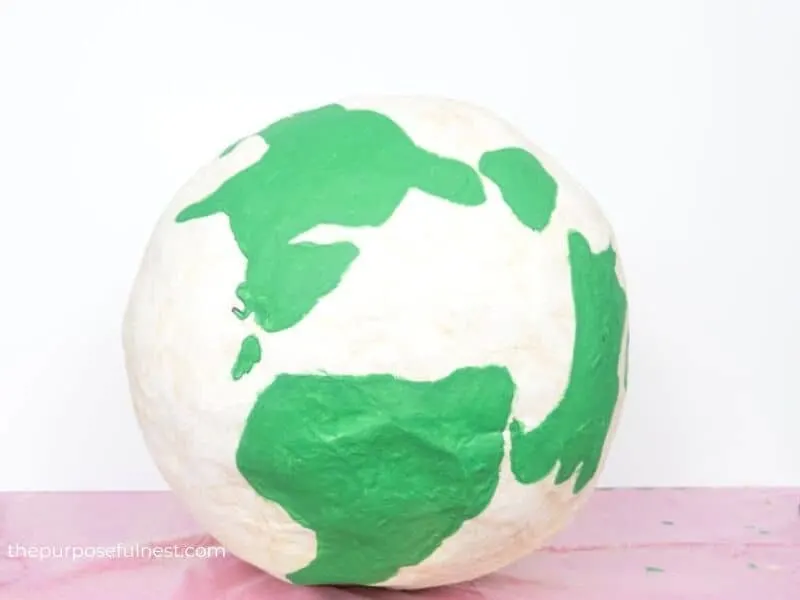
Next, I painted the land areas with green acrylic paint. Once the first layer of paint is dry you will want to add a second coat of paint for the best results.
Next, paint in the water using blue acrylic paint. While the first coat of paint was still wet, I mixed in a little white paint to add some dimension.
Finally, I used brown chalk pastels and a wet paintbrush to add color to the land areas. This step is totally optional. Your globe will look great with or without it.
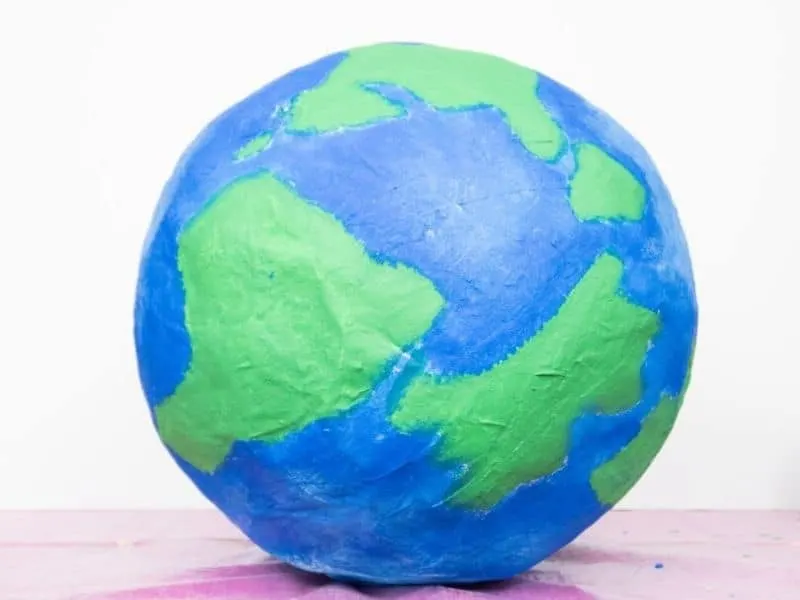
Overall, I am thrilled with how this turned out. I think it will be a great addition to our space party and I enjoyed making it.


This is so fun! My kids love doing crafts like this. I’ll have to show them this and have them work on this project for geography this year.
Cute craft. That turned out great. What a fun theme for a birthday party. Have you seen those cardboard houses kids can play in and color? We had one in the shape of a spaceship when my son was young. That would be fun for your party.
Love this! I’ll have to do this one with my kiddos. Last time we tried a paper mache project it was a volcano, and they were thrilled. This is perfect for a planet or geology unit.